Sewing Whittaker
Posted on
We have stocked Merchant and Mills patterns for for over 5 years and love the simplicity of their design and the quality of techniques that they incorporte in their patterns. The finish is always of a stylish quality.
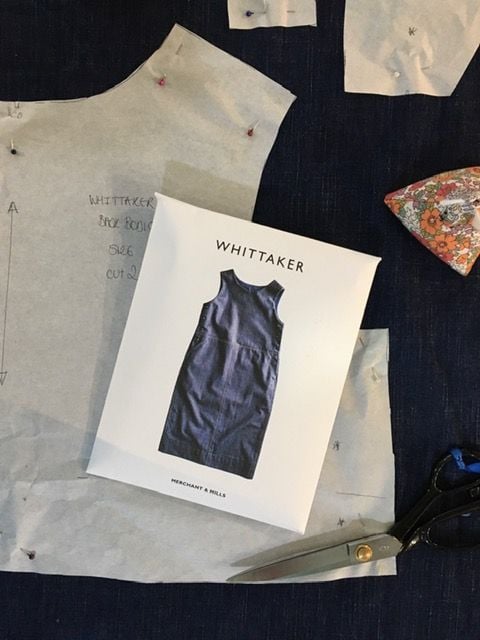
Over the last few months M&M have bought out a number of great new patterns and the 'Whittaker' is another addition to their denim collection.
I stuck to the brief and decided to make it out of some of our bark weave denim that I had waiting prewashed ready to go in my stash.
The denim has a lovely texture to it and a small amount of elastine in it that makes this loose fitting dress even more comfortable to wear. We loved this fabric so much we ordered it twice so at the time of writing it is still in stock!
As with most Merchant & Mills patterns their sizing is generous so I checked carefully their finished garment size before opting to cut the smallest size 6 - I normally wear a size 10.
I also checked the pics of the Whittaker made up and saw the long version is really VERY long so I hit midway between the long and the short version and decided to still keep the back split in.
Once I had cut it was time to prep the back pockets.
I love a bit of top stitching as it makes you slow down and focus on accuracy. I chose a classic jeans colour top stitch thread and got stitching! Most domestic machines struggle with thicker top stitch thread on both the top spool and the bobbin so I made sure my bobbin thread was a standard Gutterman sew- all thread before I started to sew.
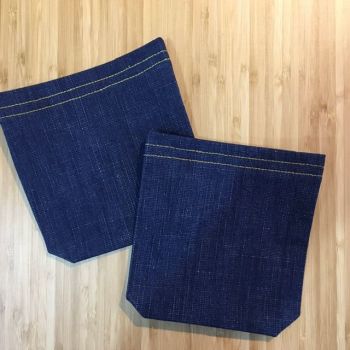
One top tip I learnt from making the M&M 'Ottoline' denim skirt is finishing top stitching by hand sewing the threads to the back and avoiding back stitching unless I'm making a feature of it with a bar tack, it's time consuming but it makes for a lovely neat finish.
So once the back pockets were on it was time to join the two back skirt panels and yes you guessed it more top stitching!
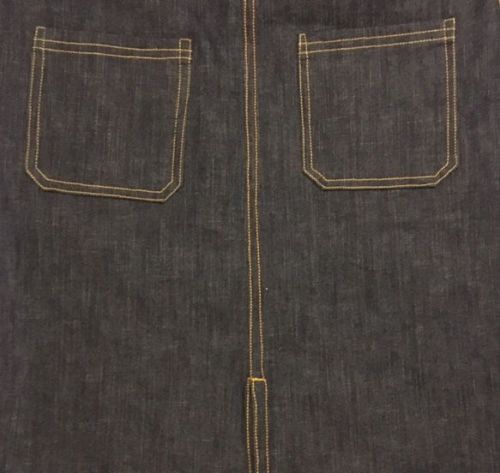
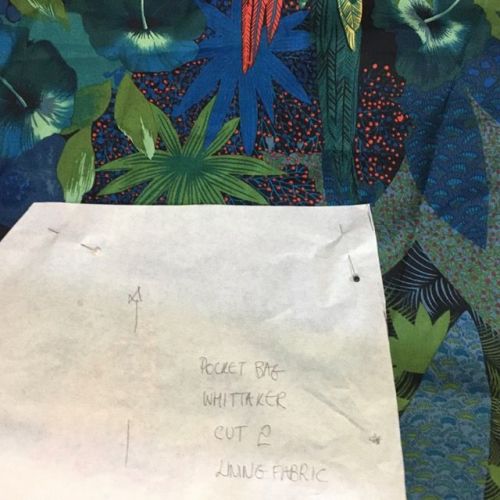
Who doesn't love a pocket and as well as the two back patch pockets the Whittaker has got lovely deep front pockets. One of the things I love most about home sewing is adding hidden little details and using up scraps of fabrics.
In this instance I used some leftover Alexander Henry fabric from some curtains I had made for my cousin, as the pocket bag! The tones of blue work beautifully with the denim, I know no one is going to see but it still makes me happy! Pockets done it was time to join the two front skirt panels and top stich the front seam before moving onto the bodice.
There is not much to say about the bodice, the instructions are clear and it is a simple construction. The neckline is high but this obvious from the pictures but if you prefer a lower neck line now is the time to do it and it is a simple adjustment to create more of a scoop.
After more top stitching on the bodice it is time to join the bodice to the skirt before joining up the side seams and if you want, more top sitching down the side seams. This has the job of securing the plackets in the righ position, however I opted for a simple bar tack to do this job.
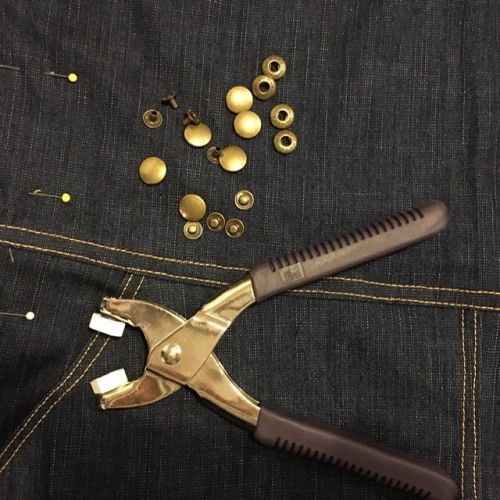
Having tried on my Whittaker and hemmed to a knee length it was time to apply some hardware. I decided to go for some Prym 'anorak' studs in bronze. It is always a bit stressfull, so make sure you get your measuring and placement right. The denim is quite thick so I used a hole punch tool first to get a cut away fabric so the stud can clamp properly together.
So here's a pic of the finished garment, un-modelled! I have been wearing it loads in the shop already and it has received lots of comments and I feel it is going to to be fave for this autumn winter. I thorouhly recommend!
