Flo-Jo Blog

 RSS Feed

Category: Latest Makes

  1. The Tulip Dress - Pattern Review

    Posted on

    Assembly Line Tulip Dress - Pattern Review
    IMG_1208

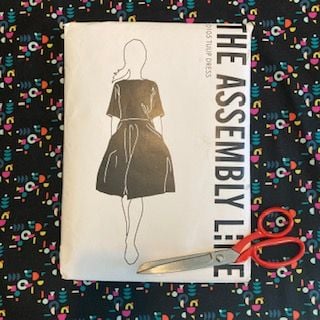
    If you follow us on on social media you will know that we are big lovers of Assembly Line Patterns and also of  Ruby Star Society fabrics. So what better than to combine the two in a new dress to ease the transition into autumn!

    The Pattern
    Modern and minimalist Assembly Line produce patterns designed and created in Sweden. Their designs combine clear lines and classic styles with a modern twist. The end results are super wearable clothing with a professional finish.

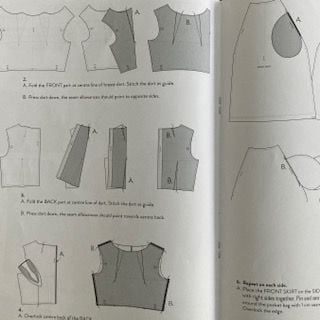
    We love the clear step-by-step illustrated  instructions, with large scale diagrams and concise instructions - think Ikea for sewers! 
    IMG_1232     IMG_1231

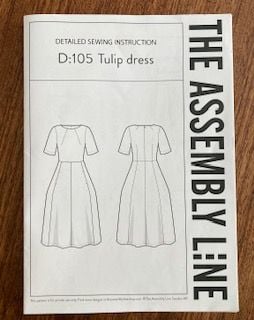
    The Tulip Dress has a flattering bodice and a very full 'tulip' shaped skirt. The pattern would work well in in medium to light  weight denims and twills as well as medium weight cottons such as the one I chose by Ruby Star Society

    The Fabric
    Ruby Star Society are a 5 woman collective who built their company around creative ideas and sisterhood. They design beautiful fabric to inspire. I chose Adorn by Rashinda Coleman Hale, a medium weight cotton with a black base and pop of colour.

    IMG_1209

    Now Let's Get Sewing!

    The bodice goes together very easily with the large  neckline darts creating the bust shape. I found the sizing true to the size guide and I didn't need to make any adjustment in fitting.

    Happy with the bodice I moved into the skirt. I knew that the skirt - made up of six panels -  was super full so I decided to make a slight adjustment. By dropping the two side panels I was able to reduce the fabric required. I then adjusted the pattern, adding more in at the waistline at the front and back panels so that the skirt still fitted to the bodice. 

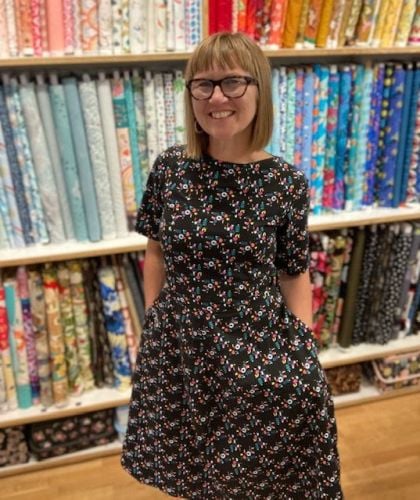
    The finished result is still a full tulip shaped skirt that, personally, I find a bit more 'everyday' and economises on fabric. I am really pleased with the finished look and know that this dress will look really good layered up with a cardigan, tights and chunky boots.

    Suddenly autumn doesn't feel so bad at all!
    IMG_1238 (1)

  2. Remaking Old Favourites

    Posted on

    REMAKING OLD FAVOURITES

    With a wiff of spring in the air I have started to turn away from the joggers and tracksuits of lockdown, but am left wondering: what exactly do you wear when you go out into the world?

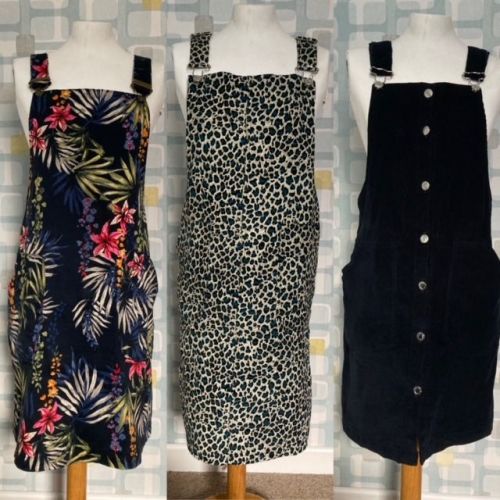
    Time for a refresh an old favourite -  The Cleo Pinafore Dress by Tilly and The Buttons.

    Image-1

    One of the best things about making your own clothes is re-making them!

    A different fabric can completely change the look; embelishments, adjustments and different finishings are also all ways of giving a remake a different feel.

    The Cleo Pinafore Dress is a tried and tested favourite that we have made many a time with our teenage sewing clubs. I already have two in my wardrobe but with some great new fabrics in the shop perfect for the job, I was tempted by just one more in some new super soft leopard needle cord.

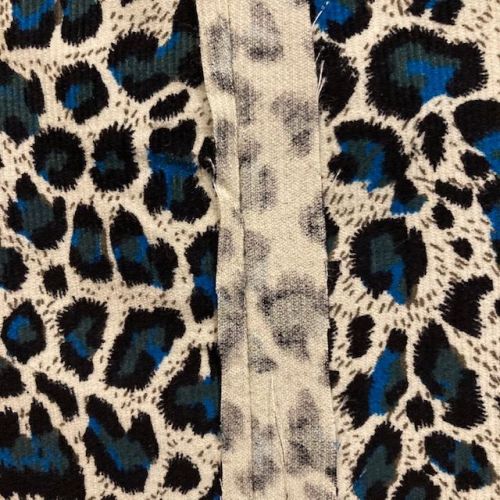
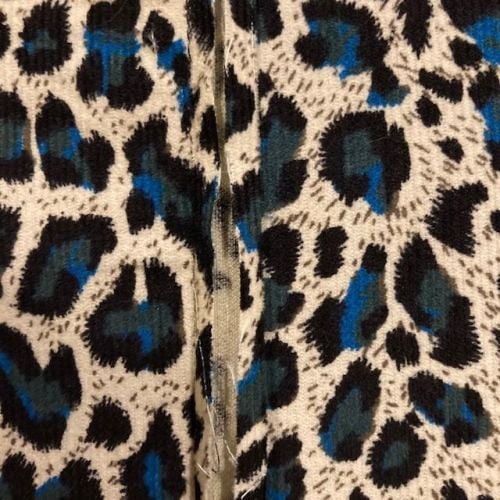
    To be honest this time I did the least variations from the original pattern, instead I focused on the detail of the finish by using flat fell seams through out.

    Flat fell are really strong seams that you always see on jeans. Think of those double rows of stitching, these rows are both part of the seam making it super strong.

    Having just made my very first pair of jeans(!!) I thought I'd apply my new love of flat fell seams to my latest leopard version of the Cleo.

    So here's my step by step flat fell seam guide!

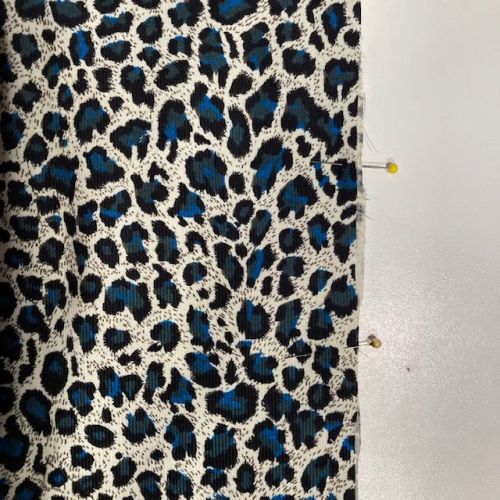
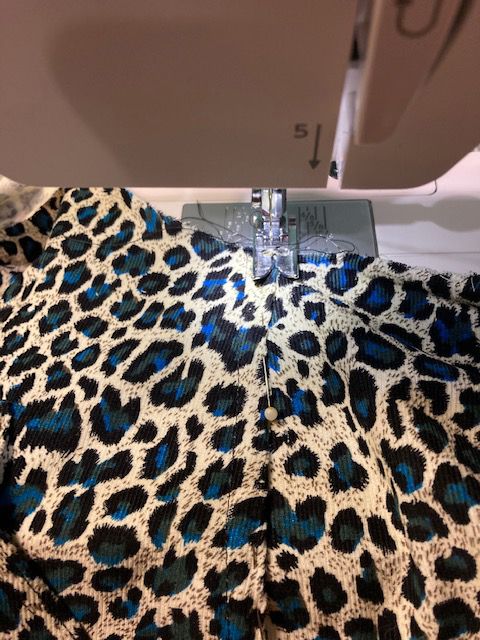
    • First you pin and sew the fabric together wrong sides together with the standard 1.5cm seam allowance.

    IMG_0668

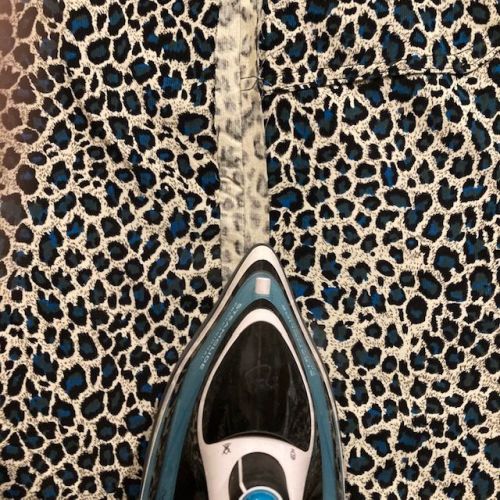
    • Then press the seam open.

    IMG_0670

    • Trim one of the seams to 0.5cm

    IMG_0673

    • Then press the short seam back up into the seam and fold the longer seam edge over so the raw edges meet - press.

    IMG_0674

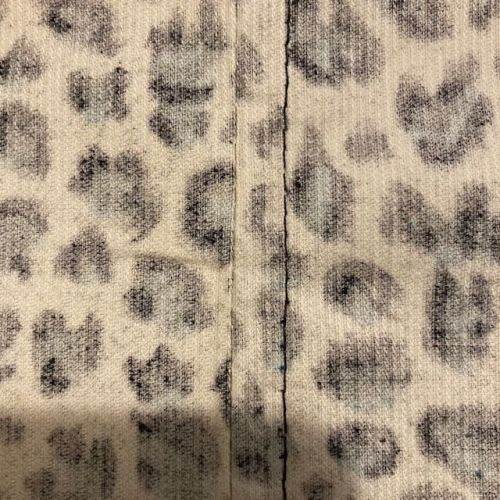
    • Then flip allowances over to hide the raw edges, press, pin and top stich into place.

    flat fell

    To be honest the look of the flat fell seam is totally lost in the print, but I love that this seam means you get a perfect finish on the inside, with no raw edges and no need for an overlocker. 

    IMG_0666 

    So once again the Cleo comes up trumps and I am really happy with my latest version and feel ready to wave goodbye to lockdown and step back out into the world...

    See you there!

    IMG_0746